

Building Blog Application APIs using SpringBoot - Part 1
In this blog, we will setup our application by downloading and installing necessary software and setup our IDE to get started with developing APIs.


I believe learning by doing is one of the best ways to pick up any new language or framework. In this series of blogs, we will be building APIs of our blogging application that can be tested using the PostMan tool.
Before you start with building the application you need to install following things.
i) Spring Tool Suite (STS), IDE which makes development in Spring a cakewalk.
ii) Java (1.8 and above)
iii) Postman, which will be used to test our APIs
iv) MySQL (we will use version 5.x)
Downloading JDK 8+
If you already have Java installed, you can move to the next step.
Search "JDK Download" on Google and click on the link which says Java Downloads or visit Download JDK 17. JDK version depends on when you are downloading, but try using a stable version (I am using Java 1.8).
Click on the link given below Download and it will automatically start downloading.
Please note you might need to Register on Oracle's official website before it starts downloading.
You can also download other Java JDKs like Amazon Corretto, etc.
Once downloaded, open the application and install Java with the usual process of clicking Next...Next...Finish :-P
Downloading and installing STS
On Google, search "STS download for Windows" (for Windows users) or visit Download STS.
As I have experience with Eclipse IDE, I will download Spring Tools 4 for Eclipse - Windows X86 (version may vary depending on when you are reading this article)
Once the jar is downloaded, copy it to a location on your PC where you want it to be placed and extract the jar.
You can double-click on the jar, it will automatically extract the jar. Once extracted, it should look like this :
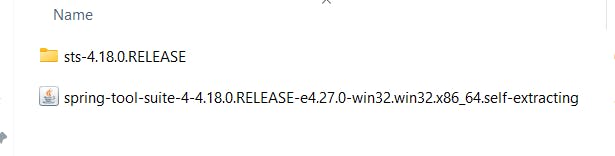
If it does not start extracting automatically, open command prompt where the above jar is copied and use cmd java -jar <Full-name-of-Jar-File> and it should start extracting.
Inside sts-4.18.0.RELEASE folder, click on SpringToolSuite4.exe to launch the application.
Select Workspace, where you want your project to be placed and click "Launch".
Once IDE is launched, Go to File -> New -> Spring Starter project, it will open a dialogue box, enter details in the fields as given below.
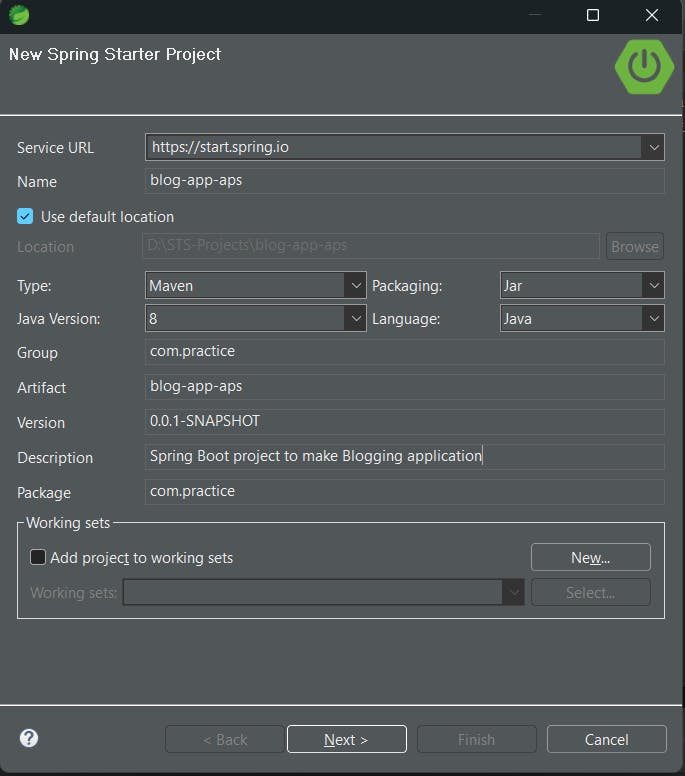
Here I am using Maven as our Build Tool and Java 8 (as mentioned earlier), therefore I have selected those, you need to select the Java version you have downloaded.
Enter Group and Package using the above format. Generally, a good practice is to give the group name as reverse of your domain name but that is not compulsory.
Once you have entered all the required fields, Click on "Next".
On this tab, it will ask to select Spring Boot version (I have used 2.7.11) and below it will ask for dependencies required in our application.
Search for following dependencies and add them in the project.
Spring Boot DevTools
Lombok
Spring Data JPA
MySQL Driver (This depends on the Database you are using)
Spring Web
Once added, it will look like this.
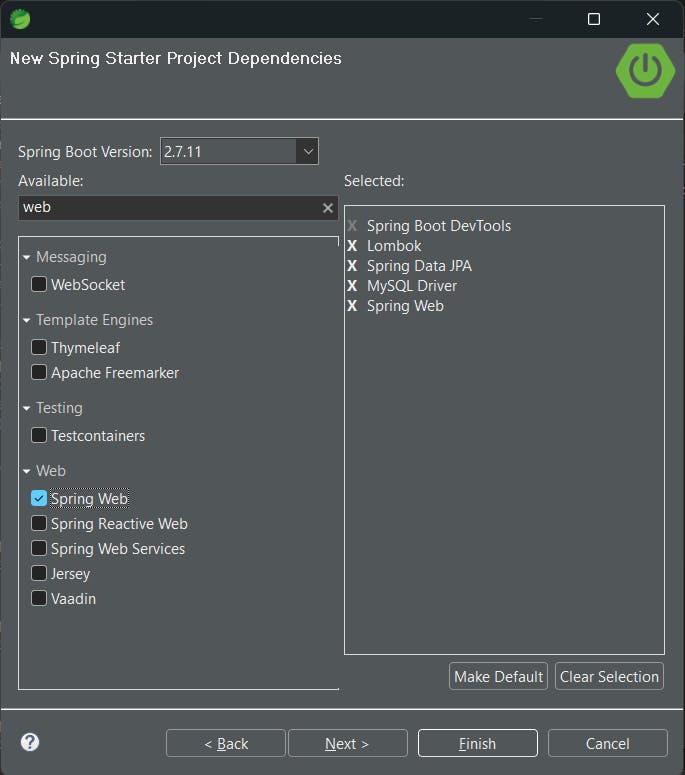
Then click on "Finish".
Once clicked on Finish, it will start building the project, do not make any modifications before the project is completely built or else it will give errors in the project.
In case of any issues, try to re-create the application or else go to Project -> Update Maven Project and rebuild the project.
Downloading and Installing MySQL
We will be using MySQL for this project, therefore you need to download MySQL WorkBench to access database.
To download MySQL, google search "download mysql workbench for windows" or visit Download MySQL Workbench.
Once MySQL Workbench opens, it will ask you to configure username and password. Make sure to remember these credentials as those will be required to connect with our database from SpringBoot application.
On the left pane of Workbench application, in schema section you will be able to see all the databases you have created. In case its the first time you have installed MySQL Workbench, this section will be empty.
Download and Install Postman App
Last thing we need to install is Postman for API testing. To download it, google search "download postman for windows" or visit Download Postman App.
Once installed, it is ready to use. We will see how to test our APIs using Postman in further blogs.
We are now ready to start creating our APIs.
In the next blog, we will create User APIs to add, update, get and delete users in SpringBoot.
Thank you for reading the entire blog. Please comment if you have any questions or have any suggestions as this is my first attempt to write a blog :-)
For code refer this GitHub Repository : github.com/RuchirDixit/Blog-App-With_Spring..